Reviewed · PRIVATE
Dublin: Private Photo Experience
Dublin looks better when someone else directs you. This private photo experience puts you with a photographer-guide as you move through the city’s most recognizable sights, starting at the lively Molly Malone statue and ending around classic River Liffey views. I love how the whole thing stays relaxed, with real posing tips so you do not feel awkward. I also love getting edited, high-resolution photos afterward that you can actually use. One drawback to note, the experience is not suitable for wheelchair users.
The timing is flexible, too. Sessions run from 20 minutes to 1.5 hours, and the route is built for a small group (up to 6), so you get attention rather than being herded along.
In at least some runs, I have seen guides like Ivana bring calm, practical direction, even when the weather is not cooperating. And if you are camera shy, that matters. She focuses on comfort first, which shows in the photos.
In This Review
- Key highlights worth your attention
- Why this Dublin photo experience feels different from a regular tour
- Starting at Molly Malone, setting the tone for your best photos
- Trinity College Dublin photos: classic architecture, quick direction, big payoff
- Temple Bar: street color plus time for real portrait angles
- Christ Church Cathedral: sacred architecture that photographs well
- St Patrick’s Cathedral: a strong portrait stop that feels meaningful
- Dublin Castle and the practical art of photographing stone
- Ha’penny Bridge over the River Liffey: closing with a postcard finish
- What you get after: edited, high-resolution photos that save you time
- Weather, camera shyness, and how the guide keeps things comfortable
- Price and value for a group of up to six
- Who should book this, and who might want a different plan
- Should you book this Dublin private photo experience?
- FAQ
- How long is the Dublin private photo experience?
- Is this a private tour?
- What is the maximum group size?
- Where does the tour start?
- Which landmarks are included?
- Do I get posing tips during the tour?
- How many edited photos do I receive?
- Are prints or physical photos included?
- Do I get RAW images?
- Can I cancel for a refund?
Key highlights worth your attention
- A real local photographer-guide who directs your poses and keeps the flow easy
- Classic Dublin landmarks in one tight walk, including Trinity and Dublin Castle
- Christ Church Cathedral and St Patrick’s Cathedral for photos with Dublin’s religious heritage
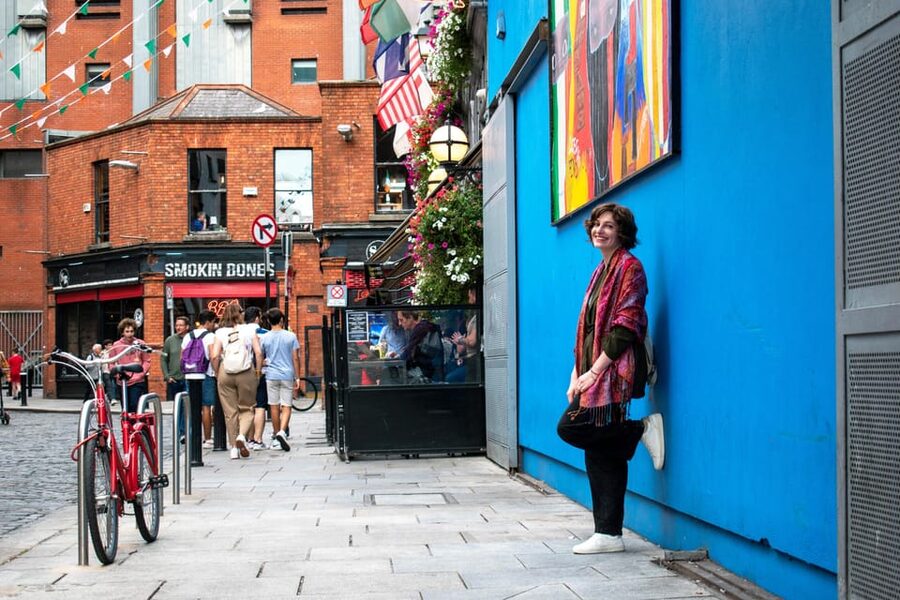
- Temple Bar photo stops with time to catch color, texture, and street-life angles
- Ha’penny Bridge over the River Liffey for postcard-style framing to close strong
- Edited high-resolution photos delivered electronically after the tour
Why this Dublin photo experience feels different from a regular tour
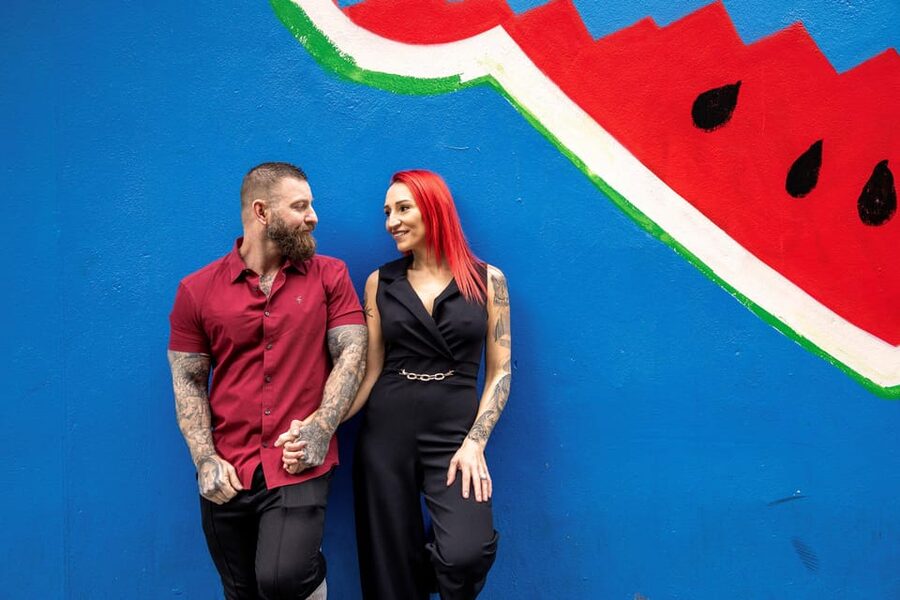
I like tours that give me context and then get out of the way. This one does both. You are not just seeing Dublin’s big names, you are being photographed at them, with guidance that helps you look natural. That changes the vibe completely, because your camera is not the only priority. Your guide is watching light, angles, and your body position, so you are not standing around thinking, Now what?
The private setup matters for comfort. With a maximum of 6 people, the guide can slow down at the good corners and adjust when someone needs a quick reset. In rain, that flexibility helps too. One reason this experience earns top marks is that the photos hold up even when the weather does its usual thing in Dublin.
The other reason it works is that the deliverable is clear. You walk away with edited, high-resolution photos (not a vague promise). That is what turns a fun hour into something you will actually keep.
A few other Liffey-side days to consider
Starting at Molly Malone, setting the tone for your best photos
Your tour begins around the Molly Malone statue. Even if you have seen her in photos before, seeing her in person gives you instant Dublin energy. She is lively, iconic, and placed in a way that makes a great first “anchor” shot. Starting here also helps you get your bearings fast. You are not thrown into complicated routes immediately. You warm up with a spot that almost everyone recognizes.
This first stop is also where posing guidance is most useful. Early direction helps you relax sooner, which means you spend less time worrying about what to do with your hands or where to stand later. A good guide will use the first minutes to teach you simple body angles and how to look toward the lens without forcing a stiff expression.
Practical tip: wear something you can move in. You will be standing, turning, and repositioning fairly often at each location, especially around statues and bridges.
Trinity College Dublin photos: classic architecture, quick direction, big payoff
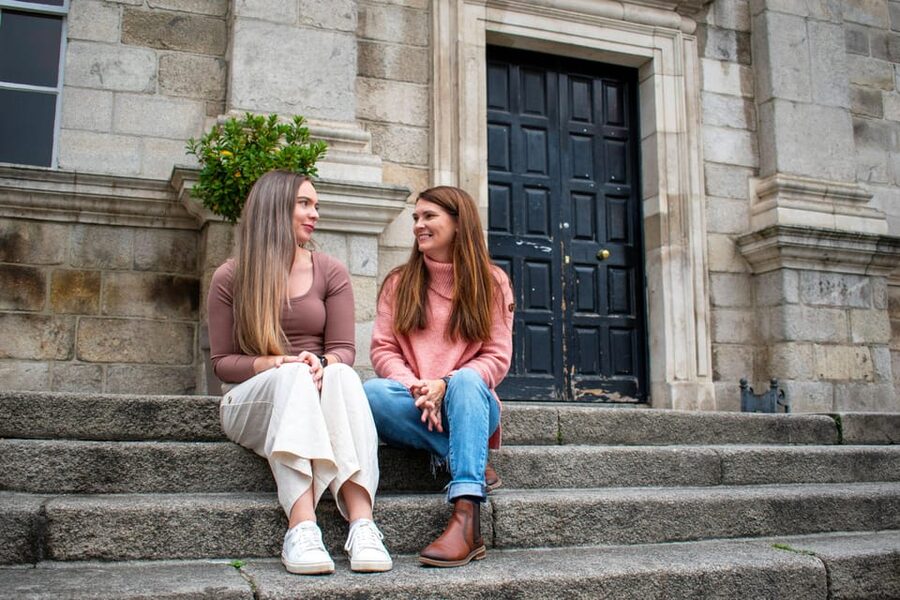
Next up is Trinity College Dublin, one of the most photogenic landmarks in the city. The setting gives you that instantly recognizable “Ireland in a movie” look, because historic buildings naturally frame you. The key is how the photographer uses your position relative to the stonework and nearby lines.
You get a dedicated photo stop here, around 15 minutes. That is long enough for a few different looks: a wider shot that shows the building behind you, plus tighter portraits where the guide can adjust your angle and expression. You should expect straightforward coaching, things like where to face, how to angle your shoulders, and how to stay comfortable while the photographer checks composition.
Why this stop is worth it: Trinity College is not just pretty in the background. It helps you look like you are part of Dublin, not just visiting it. When someone directs your placement, you get photos that feel intentional rather than accidental.
Possible consideration: it can be a popular area depending on the time of day. So if you want zero foot traffic in every photo, you will need a bit of patience. The good news is the guide can work around small crowds with quick repositioning.
Temple Bar: street color plus time for real portrait angles
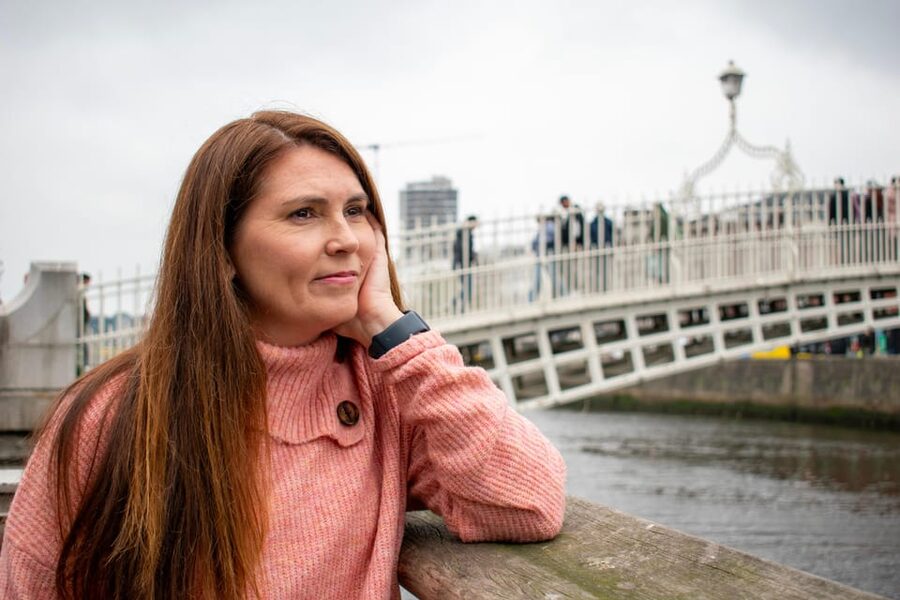
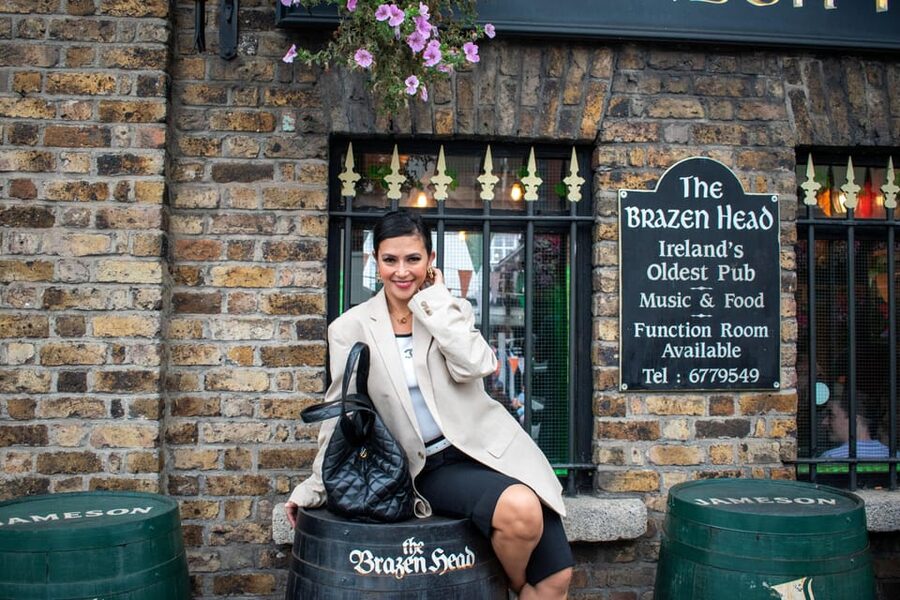
Then you move through Temple Bar, which is where Dublin’s street energy shows up. This is the section where you want variety. Temple Bar can look great in a wide shot, but it also gives you texture for half-length portraits and side angles.
You get another focused photo stop, again about 15 minutes. That time is important because it gives you options. A photographer can try different directions of light, different backgrounds, and different distances from the street scene. It also gives you a chance to settle after earlier stops, especially if you started with camera-shyness.
What I like about this part of the experience is that the photos are not only about famous buildings. Temple Bar also supports the “I am walking around this city” feeling. You should end up with pictures that show you in Dublin’s atmosphere, not just in front of Dublin’s landmarks.
Rain check: if the weather is wet, Temple Bar can still work because the scene often looks better with reflective surfaces and muted skies. One guide can also adjust where you stand so you do not get stuck under the same gray patch the entire time.
Christ Church Cathedral: sacred architecture that photographs well
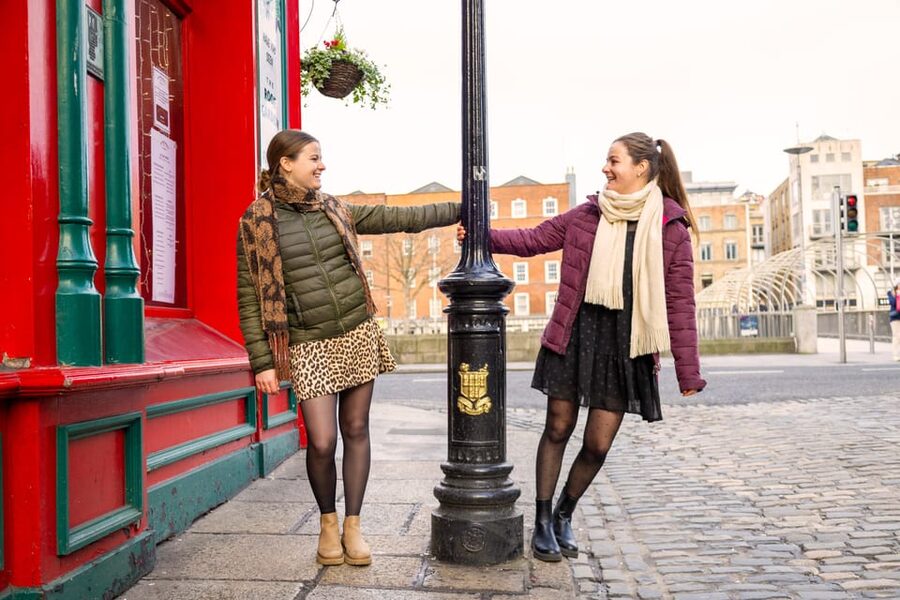
After Temple Bar, the tour includes Christ Church Cathedral for a photo stop. Cathedrals are tricky for some photographers because you need to respect the space while also getting flattering angles. A good photographer-guide will use the cathedral’s structure to create clean lines behind you, which can instantly level up your photos.
You get around 15 minutes here, so you likely will not do dozens of shots. Instead, you should expect a small set of well-placed portraits and a few wider frames that let the architecture do the heavy lifting. The guide’s commentary also helps you connect what you are seeing with what you are photographing, so the images feel like part of a story rather than a checklist.
Why it matters: religious heritage is a big part of Dublin’s identity, and a guided photo stop helps you notice the details you might otherwise rush past. Even if you are not deeply into architecture, the guide’s direction makes the cathedral feel like more than background scenery.
Another way the same day could go from Dublin:
- Dublin to Cliffs of Moher, including Wild Atlantic Way and Galway
★ 5.0 · 23,331 reviews - From Dublin: Cliffs of Moher, Burren & Galway City Day Tour
★ 4.8 · 18,888 reviews - Dublin: Guinness Storehouse Entry Ticket
★ 4.6 · 16,863 reviews - Dublin to Cliffs of Moher, Burren, Wild Atlantic Way, Galway Tour
★ 5.0 · 12,924 reviews
St Patrick’s Cathedral: a strong portrait stop that feels meaningful
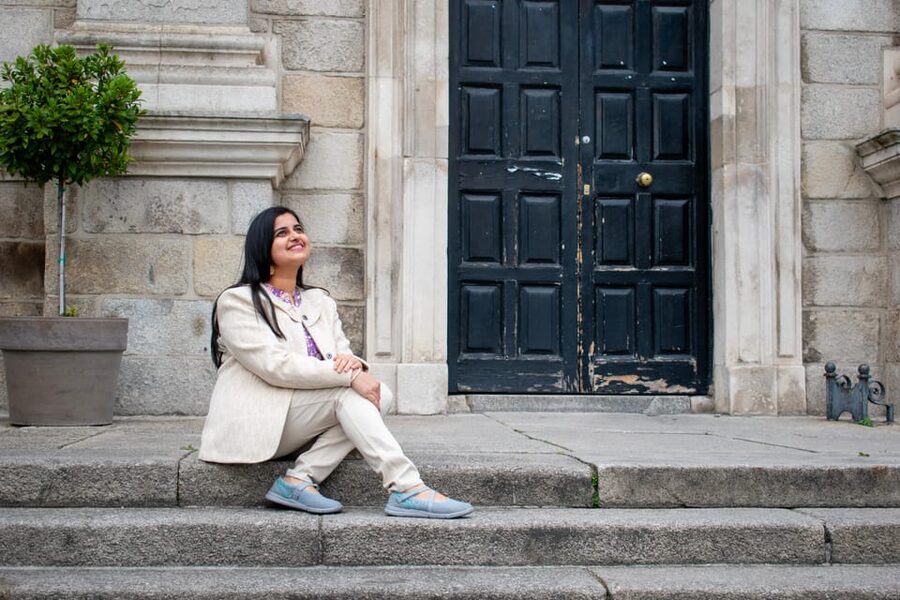
Next comes St Patrick’s Cathedral, another major religious landmark. This is a classic stop for visitors because it brings scale and texture. For photos, scale is everything. If you get your placement right, you look grounded in the space, not lost in it.
Again, you get a dedicated 15-minute photo stop. I like this approach because it forces quality over quantity. You are better off with a handful of strong portraits than hundreds of almost-there shots. A photographer-guide can guide you through simple changes, like shifting your stance, changing how you angle your chin, or moving slightly to keep the background clean.
If you want photos that look both historic and personal, this is one of the best points in the route. You should come away with images that feel “Dublin specific,” not generic travel snapshots.
Dublin Castle and the practical art of photographing stone
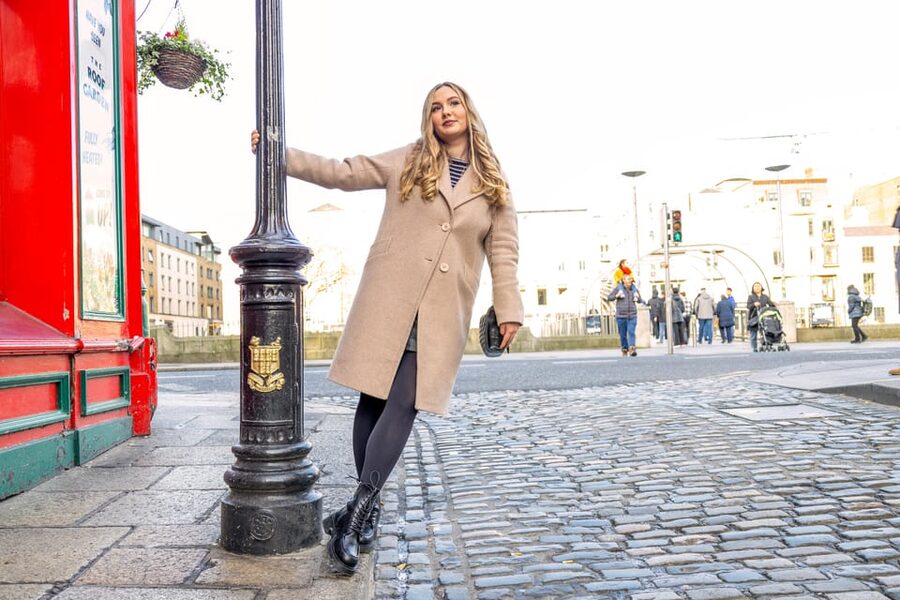
Then the tour heads to Dublin Castle. Castles and courtyards can be hard to photograph because there are often many visual elements competing for attention. The value here is that the photographer-guide can simplify the scene by choosing angles that put you in a strong position relative to stone lines and entrances.
You get another photo stop, around 15 minutes. In that time, you should be able to capture:
- A wider shot that shows the castle context
- A tighter portrait that uses the stone as a clean backdrop
- One or two angled shots where your posture looks confident and relaxed
This part of the city also benefits from the earlier posing guidance. By now, you usually stop thinking so much. That is when your facial expressions look more natural, and your photos start looking less like you were “doing a photo” and more like you were living in the moment.
Ha’penny Bridge over the River Liffey: closing with a postcard finish
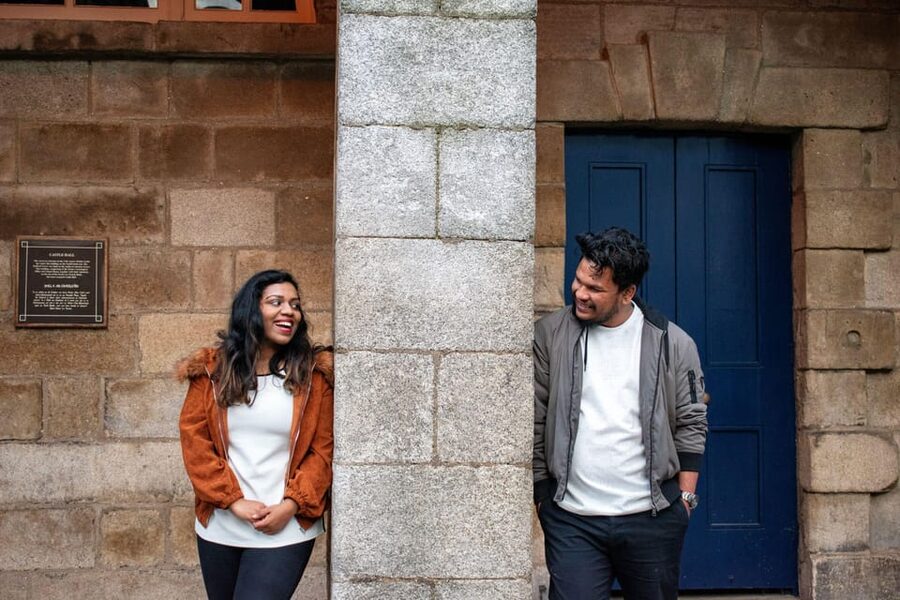
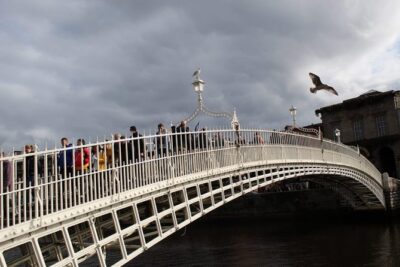
Finally, you reach Ha’penny Bridge, with views over the River Liffey. Bridges are a gift for photographers because they create strong leading lines. The river adds depth, and the bridge structure gives you a clear sense of place.
You get a photo stop here around 15 minutes. This is often the moment where you feel the most confident, because you already had practice at earlier landmarks. The guide can also time shot changes based on how the light hits the water.
Why it makes a good finish: most Dublin itineraries end at the river at some point, but adding a dedicated photo stop means you actually get to translate the view into something you will keep. You are not just walking across. You are getting photographed with the setting behind you.
End point detail: the tour wraps up back at the meeting point, and the day may also end near central drop locations around major landmarks like St Patrick’s Cathedral, Dublin Castle, and Temple Bar. Either way, you should plan to finish in the most walkable, tourist-friendly part of town.
What you get after: edited, high-resolution photos that save you time
Here is where this experience earns its keep. You receive approximately 30 edited photos per person, delivered electronically after the tour. The exact photo count depends on the option you choose, with tiers mentioned as 25, 40, or 60 edited photos.
What is included:
- Photographer-guide during the walk
- Edited photos electronically (25, 40, or 60, depending on option)
- Tips and posing guidance
What is not included:
- Prints or physical copies
- RAW images
Why edited, high-resolution matters: it saves you the tedious part later. You do not have to sort through 400 near-duplicates and then guess which ones will look good once edited. You also get photos designed to work as finished keepsakes.
Practical note: since you receive photos electronically, you will want a working email address and enough time for delivery after your session. If you are traveling on a tight schedule, it helps to plan a little buffer between the tour and any big photo needs, like a family message or a social post.
Weather, camera shyness, and how the guide keeps things comfortable
I appreciate experiences that do not punish you for real life. In rain, a photography session can become stressful if the guide rushes or blames the weather. The positive feedback here points to the guide staying kind and practical, adjusting to conditions, and still producing strong images.
If you are camera shy, you have a real advantage with this setup. A photographer-guide can tell you exactly what to do with your posture. In some cases, that kind of extra care can even include small comfort help, like making sure you are comfortable during shooting. The point is simple: you will likely spend less time worrying and more time getting the shot.
Also, the tour is time-boxed in manageable chunks. You have multiple short stops instead of one long grind. That pacing helps you stay focused and keeps the session from feeling rushed, even when you move between high-traffic sites.
Price and value for a group of up to six
The price is listed as $53 per group up to 6. That is a big clue that this is built for friends, couples, and small groups who want professional photos without paying per-person rates that spike quickly.
How to think about value:
- You are paying for a guided route plus the photographer’s work during the session.
- You also get a bundle of edited photos, which is usually where costs hide in other photo options.
- Since it is private and limited to up to 6, you get attention instead of competing with strangers.
If you are traveling solo, you may wonder if it feels like a lot. But the edited photo deliverable and the variety of landmarks usually justify it. If you have even one or two companions, the value improves quickly because the group cap makes the cost feel more shared.
Bottom line: this is not just a walk with someone holding a camera. It is targeted portrait work at multiple Dublin icons.
Who should book this, and who might want a different plan
This experience is a strong fit if you:
- Want portraits at multiple Dublin landmarks in one go
- Like clear posing direction so your photos look intentional
- Are traveling with a small group and want private attention
- Want edited, high-resolution results delivered electronically afterward
It may not be the best fit if you:
- Need wheelchair accessibility (it is not suitable for wheelchair users)
- Want a long, unstructured wandering day with lots of free time (the stops are timed and focused)
Also, it suits you if you care more about photos than deep museum-level history. The guide provides commentary and helps you connect sights and landmarks, but the experience is still centered on photographing you well.
Should you book this Dublin private photo experience?
Yes, if you want Dublin photos that look like you planned them, not like you got lucky with the timing. The mix of stops is smart: Trinity for classic academic Dublin, Temple Bar for street character, Christ Church and St Patrick’s for meaningful architecture, Dublin Castle for stone-and-scale portraits, and Ha’penny Bridge for a strong finishing frame over the Liffey.
If you are the kind of traveler who hates taking selfies and loves actual guidance, this is exactly the sort of service that makes a difference. And if weather is a worry, the feedback suggests your guide will keep things comfortable and still deliver quality results.
FAQ
How long is the Dublin private photo experience?
It runs from 20 minutes up to 1.5 hours. Starting times depend on availability.
Is this a private tour?
Yes. It is a private group experience with a live English-speaking photographer-guide.
What is the maximum group size?
The experience accommodates up to 6 people.
Where does the tour start?
The meeting point may vary depending on the option you book. The activity begins at the selected start point.
Which landmarks are included?
The experience includes photo stops at Trinity College Dublin, Temple Bar, Christ Church Cathedral, St Patrick’s Cathedral, Dublin Castle, and Ha’penny Bridge. It also starts at the Molly Malone statue.
Do I get posing tips during the tour?
Yes. You will receive tips and posing guidance during the experience.
How many edited photos do I receive?
You receive edited photos electronically. Options mentioned are 25, 40, or 60 edited photos, and the experience notes approximately 30 edited photos per person.
Are prints or physical photos included?
No. Prints or physical copies are not included.
Do I get RAW images?
No. RAW images are not included.
Can I cancel for a refund?
You can cancel up to 24 hours in advance for a full refund.
Just in from the Liffey side


Private, compared.
Private Dublin Arrival Transfer – Airport to Hotel / Accommodation
Read our review →
Private (Nearly!) All of Dublin in 5 hours (Walking Tour)
Read our review →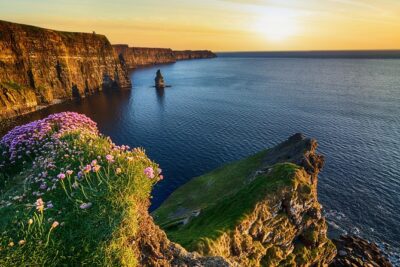
Cliffs of Moher Private Award Winning Luxury Mercedes Car Tour
Read our review →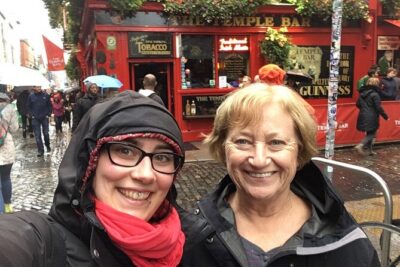
Dublin Private Custom Tour with a Local, Highlights & Hidden Gems
Read our review →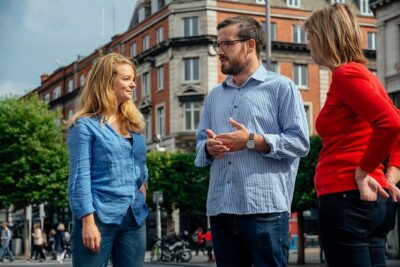
Dublin Private Highlights & History of 1916 Easter Rising Tour
Read our review →
Dublin Historical Centre Private Food Tour with 8 Food Tastings
Read our review →